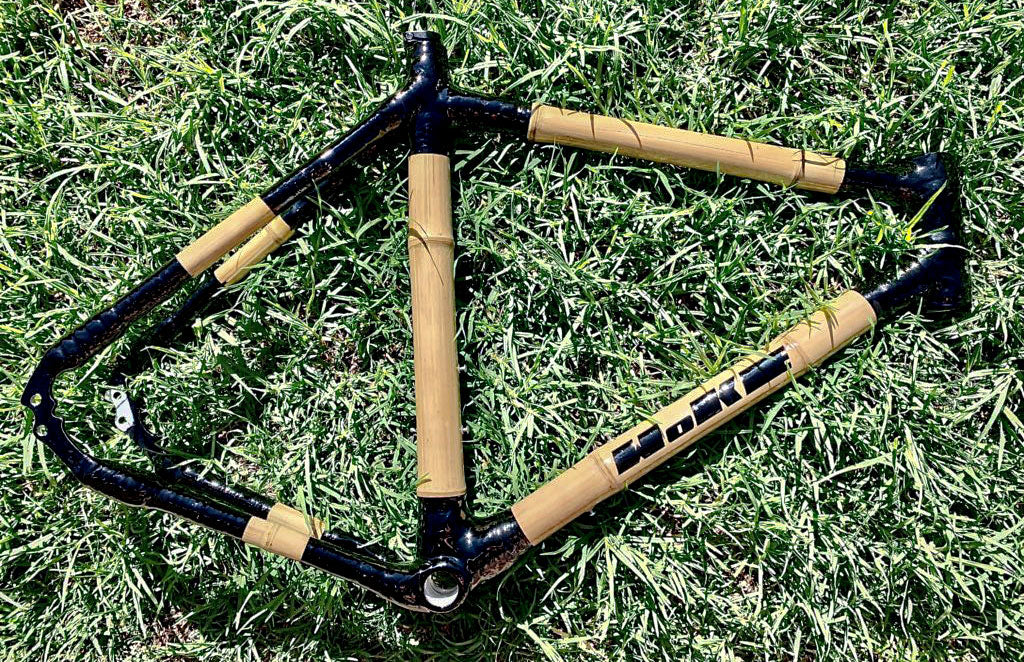
Design: Gravel bike
Build: Gravel home build kit
Location: Sydney, Australia
What made you decide to build a bamboo bike?
I have been wanting to fabricate a metal frame for some time. Building a bamboo frame seemed like a really good entree to frame building. I was right! I learned a lot!
Also I wanted an on-road/off-road "gravel" machine with massive 700x42mm tyres, and building in bamboo gave me the option to customise every aspect.

Front triangle on jig

All cut shaped

Increasing wheel clearance
Did you enjoy building the bicycle from scratch and would you recommend the experience?
Yes highly recommended - lots of challenges but extremely satisfying to solve each of them and see progress from each stage to the next.
What did you find most difficult about your bike build?
Aligning the rear axle/dropouts was by far the most difficult part, along with ensuring the chain and seat stays have enough clearance for wide tyres and the crankset. I fitted the actual rear wheel in order to align the rear axle/dropouts - this is highly recommended and I think is the only way to get the rear wheel 100% true.

The other difficult aspect is that you "you don't know what you don't know". So surprises came up that I had know way of knowing about. e.g. a brutally hot and dry Australian summer (complete with bushfires) can make the bamboo tubes split as soon as they arrive from a cool, wet British winter.
What was the easiest part of the build?
Making the hemp/epoxy lugs was surprisingly easy - the resulting strength they exhibit far exceeds the amount of effort required - amazing. Also working with bamboo is easy - cutting and sanding it to shape.
What advice would you give to other bamboo bike builders and what would you improve if anything?
Make sure that you purchase the important parts before you build the frame. Such as rear wheel, axle and dropouts. I ordered "through-axle" dropouts and did not properly understand their dimensions but still built the frame as the dropouts were being shipped, which resulted in a massive headache and having to "cut and shut" the rear stays (using carbon fibre to strengthen).
Wheels, tyres and bottom bracket/crankset - I put a lot of effort into understanding their dimensions, on paper, but it still would have been better to physically have these parts and fit them to the tacked-up frame, to make sure that clearances are right.
Disc brakes also important - the GRX brakes I purchased use the new Shimano "flat mount" standard, but the frame has "ISO" mounts. You basically can't buy an adaptor to make this work, so I had to fabricate an adaptor from stainless steel, which took like the whole of Easter.
I think also that most "build at home" builders are happy to take time to build their machine, in contrast to the "weekend workshop" builders, who need to get it built in one weekend. So, for the former group I would say take the time to get it right - there will be mistakes but you need to take them in your stride - you will overcome each of them and this is very rewarding.
How would you describe the ride of your finished bike?
Solid as a rock. A bit on the heavy side, but I did over-engineer everything, so next time will try to save some frame weight. The hardest part is convincing people that she won't fall apart on the first descent! Nice to prove the disbelievers wrong!


